A dirty fuel tank can lead to fuel pump failures. Prevent potential problems by following these step-by-step instructions for proper fuel tank cleaning.
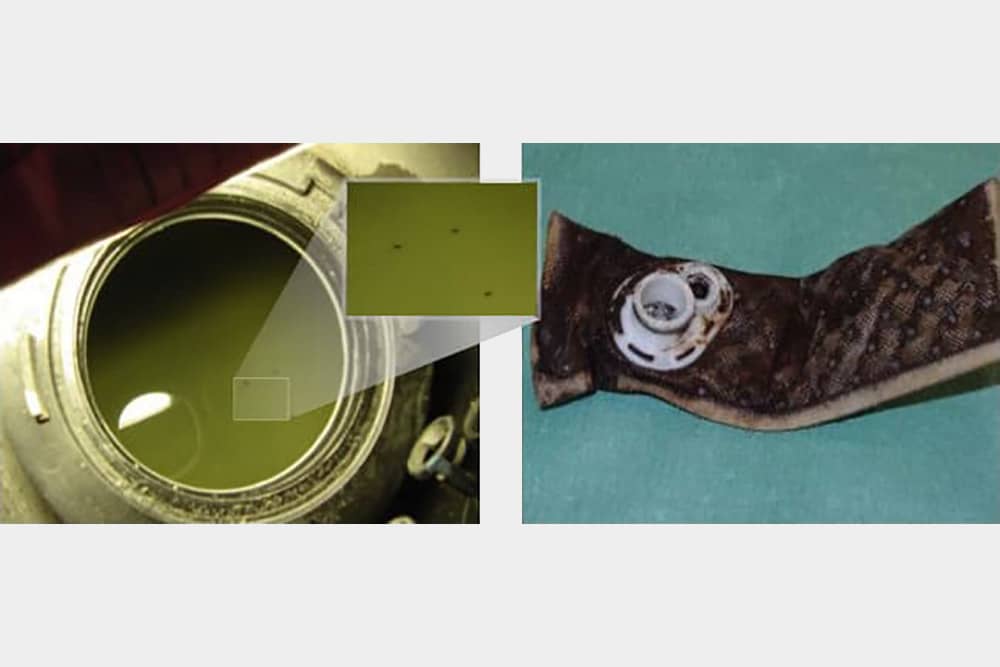
Many variables contribute to fuel pump failures. One of the most common culprits, especially when a replacement fuel pump stops working shortly after installation, is a dirty fuel tank. It is critical that contaminants and loose debris, including rust and sediment, are removed prior to fuel pump installation as they can clog the filter, jam the turbine pump, or significantly reduce fuel flow due to build-up.
The single most important way to prevent this is to ensure you start the fuel pump repair process with a clean fuel tank.
You can do this by following these step-by-step instructions for proper fuel tank cleaning:
- Drain all fuel from the tank with an approved container or a fuel caddy.
- Drop the tank (see your service manual for further instructions).
- Clean area where the pump is being removed from with a brush.
- Remove fuel pump from tank (avoid letting residual debris fall into the tank).
- Insert hose into fuel tank and begin pouring a stream of clean, hot water.
- While water is filling, spray mild detergent in the tank.
- If opening allows, use a brush to loosen debris from the sides of the tank.
- Stop stream of water.
- Swish the water around to ensure all debris has been captured.
- Dump dirty contaminated water out into a pan, being sure to capture any liquids.
- Further wipe the tank out with a lint-free washcloth.
- Dry the fuel tank completely with compressed air.
- Inspect the tank for rust or physical damage; if present, the tank must be repaired or replaced.
- Add fuel line antifreeze/water remover to help absorb any residual moisture.
- After the tank has been dried, let it sit for 30 minutes.
Share This: